
Hello friends! Today I have a brand new edition of my Three Way Series, where we show you creative ways to use and stretch your stash. Today we are going to be playing with kit stamps to sassy up our pages and create pretty embellishments, journaling spots, and custom word art.
Let's jump right in ... I think you will like how easy these ideas are!
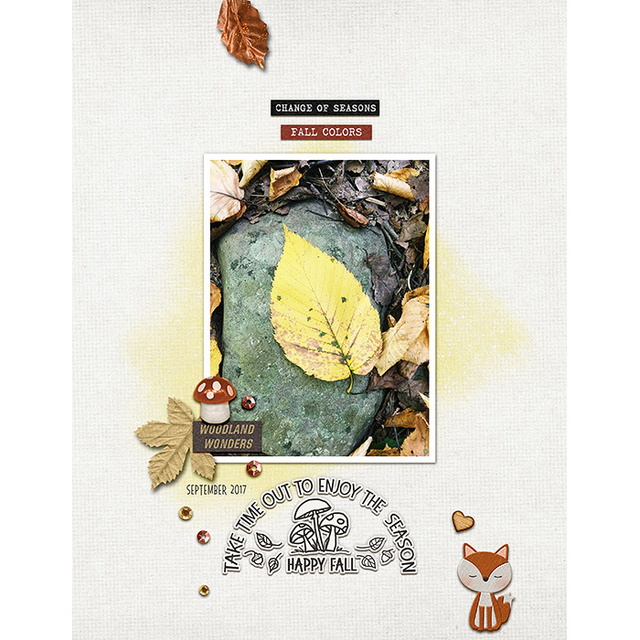
First up I grabbed a bunch of doodle stamps from Nuts About Fall | Elements. I placed the mushroom stamp in the center and added the text "Happy Fall" underneath. I then added some journaling and used the Create Warp Text tool to arc my journaling into a half circle. I grabbed just a few leaves and acorns from the scatter doodle stamps that are in the Nuts About Fall kit by just copying and pasting the ones I needed. Together these pieces make for a super cute custom piece of word art!

And here's how it looks on my page:
Next I grabbed a flower stamp from Sea of Love | Elements , a branch from Today | Elements, and a paper element from Boho Bliss. Here's the pieces before I altered them.
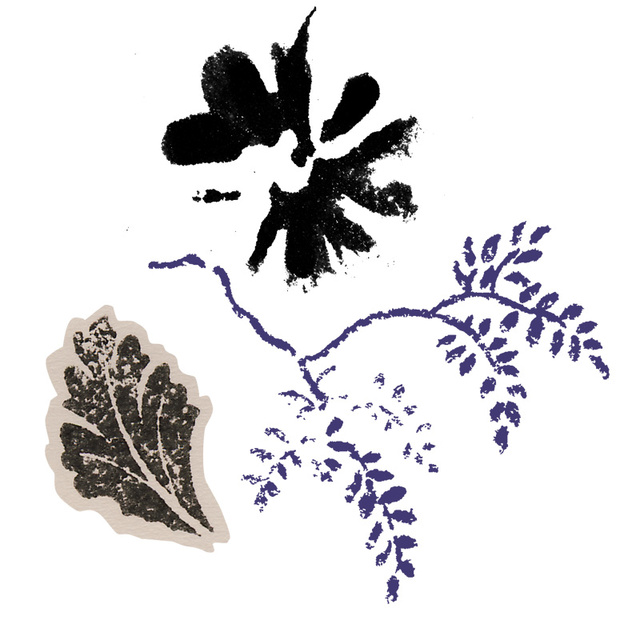
For the Boho Bliss element, I extracted the stamp from the background. I arranged them all to form a sort of "topper" element thinking that if I placed two together they would make an elegant journaling spot or area to place a title. I merged all the separate stamps together and used the Color Overlay option to recolor the new stamp.

Here's how the stamp looks duplicated, forming a nice journaling spot on my page:
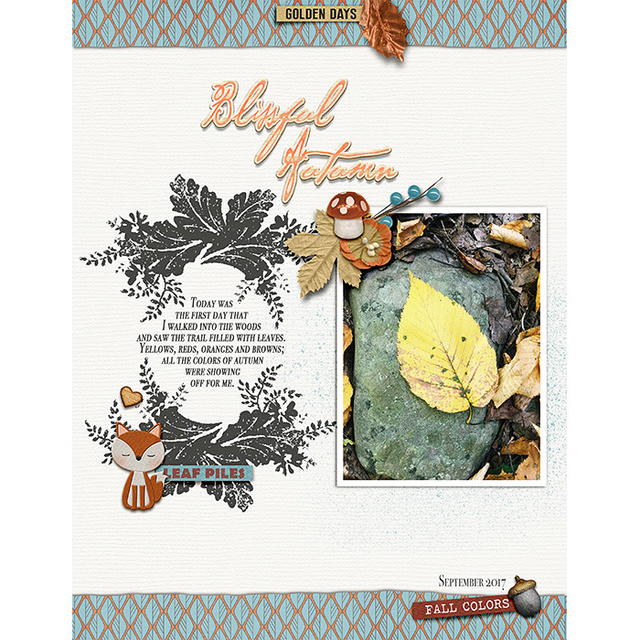
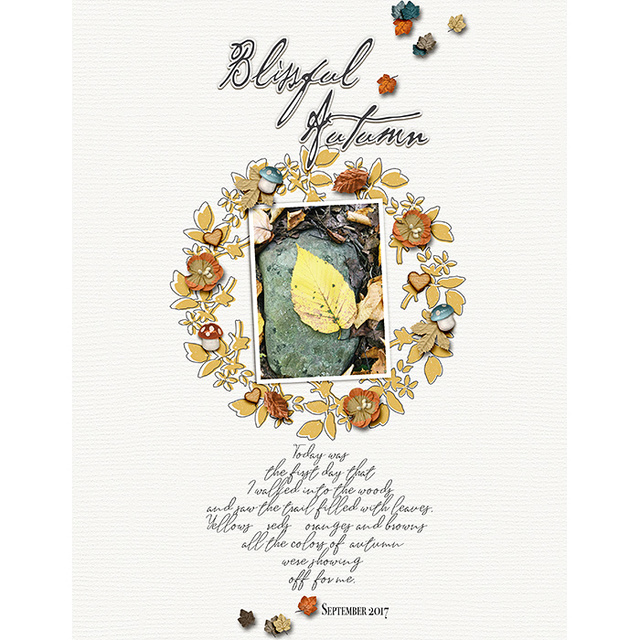
Finally, I took a stamp from Today | Elements and multiplied it several times. I held down my shift key and rotated each one, with consecutively more rotations each time. I placed all the individually rotated stamps into place to create a circle and merged all the separate stamps into one. I then turned the wreath into a grey scale image and used the Color Overlay option to recolor the entire wreath. Here's the final wreath and the starting stamp in the center.

And for my page, I made a few more alterations. I recolored it yellow. Then I selected the entire wreath. I created a new layer and with my selection still active, I chose Edit > Stroke (with a 3 pixel wide stroke and a grey color) to create an outline. I then went back to my yellow wreath layer and moved it down and over a little bit to give it that pretty offset look. Here's how it looks on my page:
And there you go ... three sassy stamp ideas to try out on your next page ... all by taking a new look at some of the older stamps already in your stash. Happy scrapping!
No comments:
Post a Comment